Connect your accounting integration to save time on manual invoicing.
Setting up Xero
To connect your FoodByUs account to Xero, navigate to My Account > Integrations

Step 1: Authenticate Xero Account
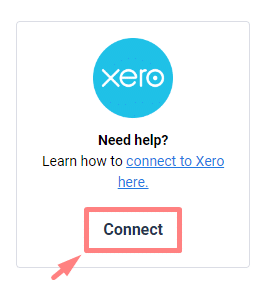
Click the “Connect” button under Xero.
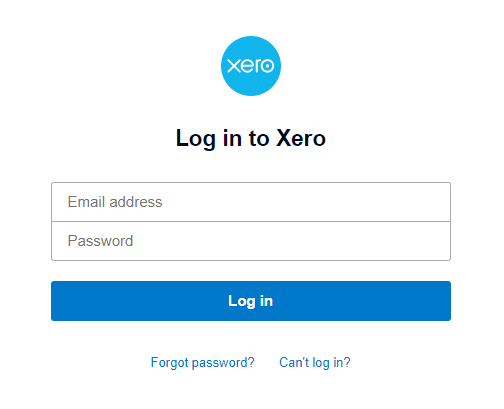
Sign in with your Xero email and password. FoodByUs does not store any of your Xero credentials.
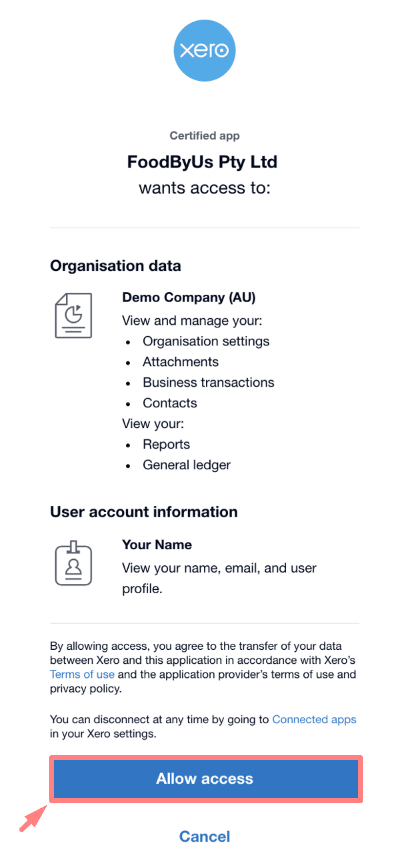
Once signed in, you will be asked to authenticate access for FoodByUs to send invoices to your Xero account. Click “Allow Access”. You will be redirected to FoodByUs for the next step.
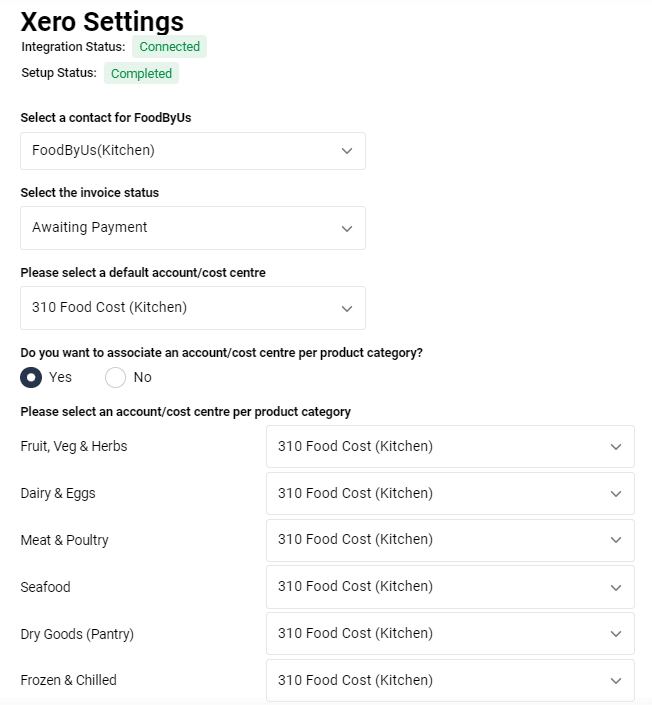
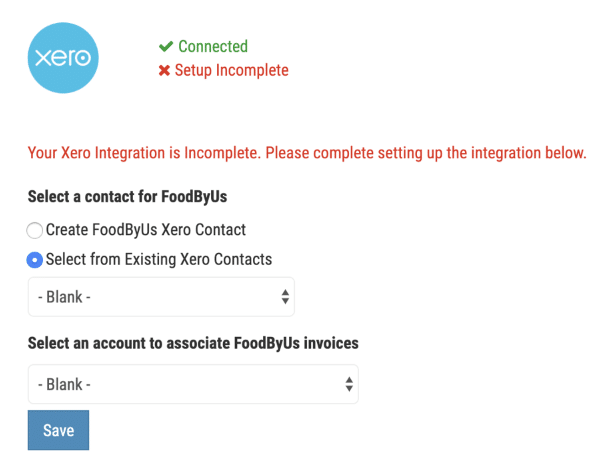
Step 2: Create/Link Contact & Select Account
- Xero requires a contact associated with each invoice.
- If you don’t currently have a contact for FoodByUs in Xero, select “Create FoodByUs contact in Xero”.
- If you already have FoodByUs as a contact in Xero, select the contact under “Select from existing Xero contacts”.
- All invoices sent automatically from FoodByUs will be associated with one account/cost centre in Xero. To choose which account you want to associate, select from the dropdown of accounts. Common accounts used are Purchase, Food Cost, or Expense.
- Click “Save”.
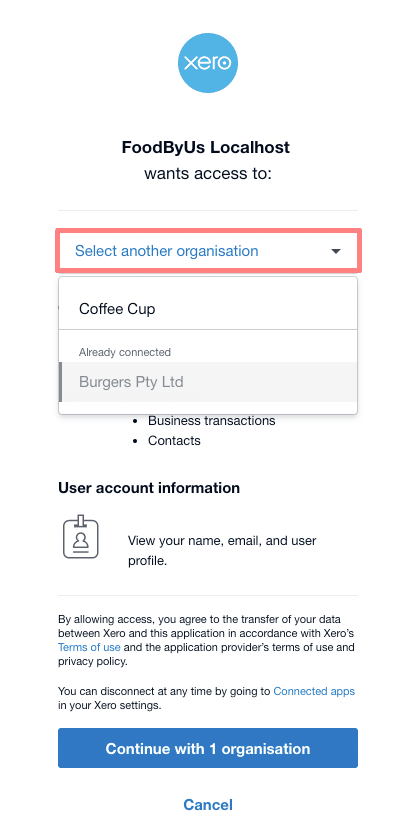
Step 3: Add more Venues (Optional)
- If you have more than one venue, you will need to repeat the steps above for each venue.
- When you are again asked to authenticate access for FoodByUs, click the dropdown menu that appears.
- The venue that you have previously authenticated access for will appear greyed out as it has already been connected.
- Select your other venue and continue. Each venue must be connected individually.
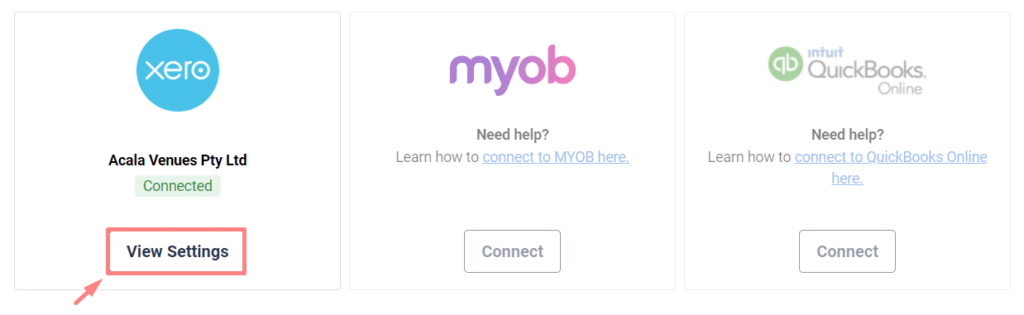
Step 4: Map Direct Suppliers
For Direct Suppliers, you will need to map your direct supplier contact with the contact in your integration.
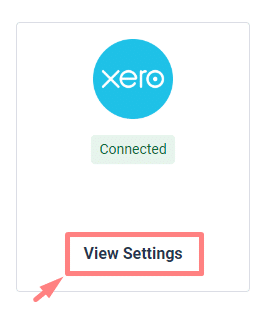
- Click ‘View Settings’ under your connected accounting integration
- Click the Direct Supplier tab
- Search the direct supplier from the search box
- Once selected we will pull the contacts that have already been created in the accounting software system
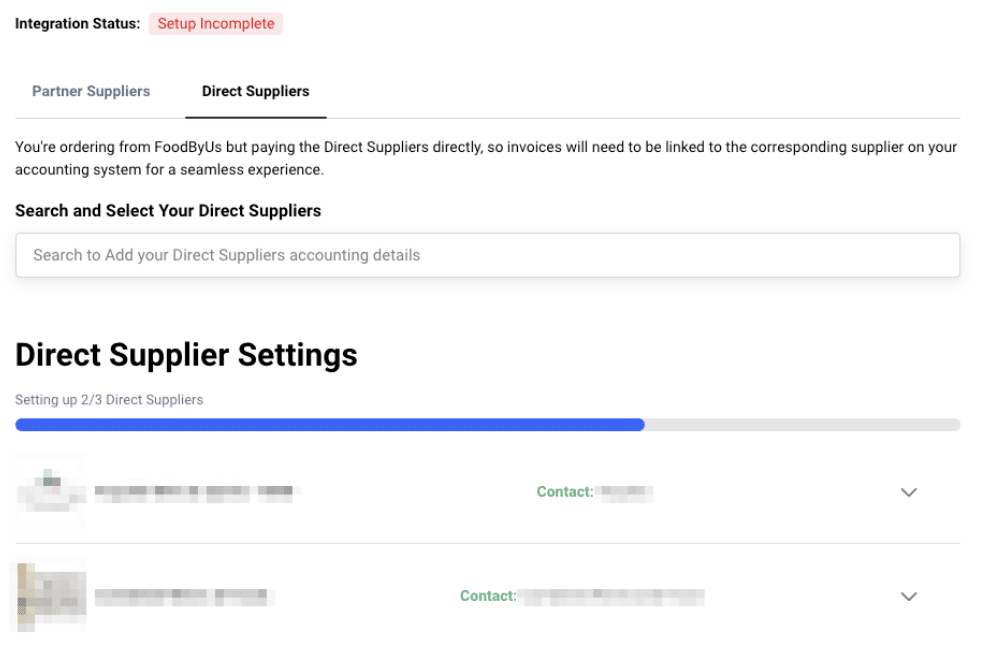
- You can select or add a contact to map it to
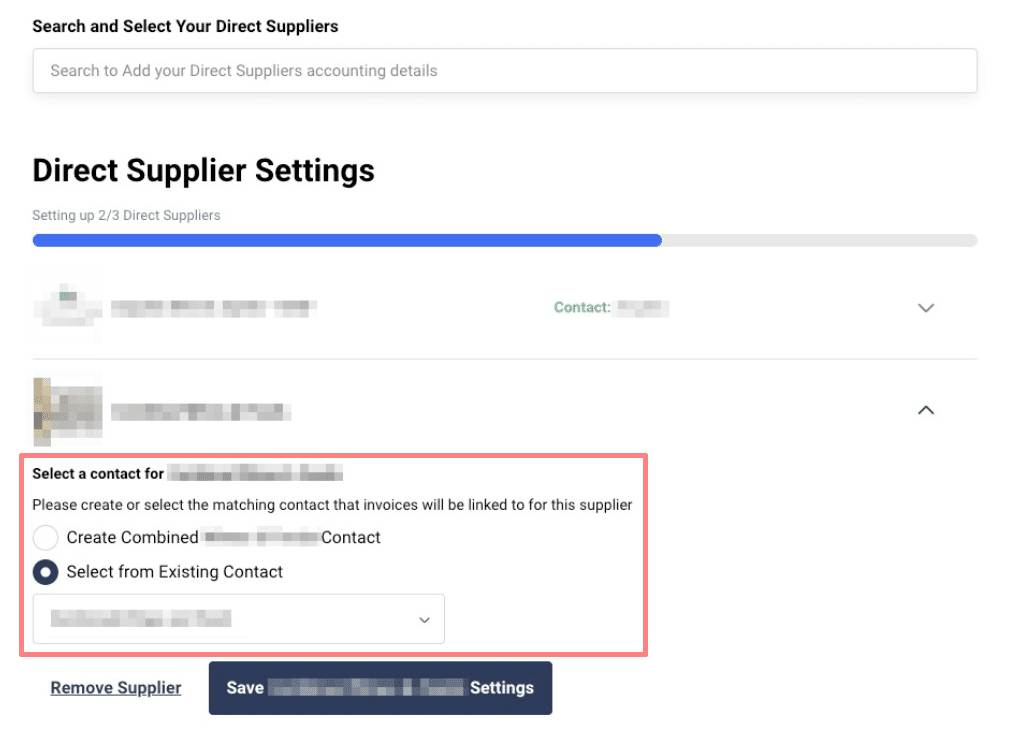
- After successful mapping, we will start to send invoices to them if they have been correctly scanned by Invoice Hub
Using Xero
Automatic syncing of FoodByUs Invoices
Once your Xero account is connected to FoodByUs, your invoices will automatically be sent to Xero, every time a new invoice is created.
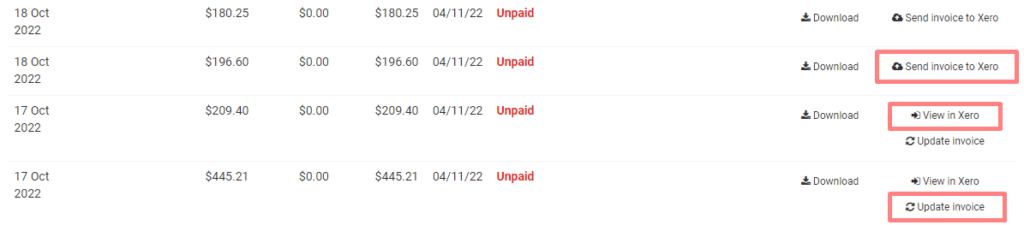
View Invoices
To view your invoices and check whether an invoice was sent to Xero, navigate to Finance > Statement & Invoices.
- Send invoice to Xero: Send an invoice that has not been sent to Xero (for example, invoices from before you integrated your FoodByUs account to Xero.
- View in Xero: View the invoice that was sent to Xero.
- Update invoice: If your invoice in FoodByUs account doesn’t match Xero account, you can update the invoice in Xero by clicking “Update Invoice” button.
Account Mapping
Assign a product category in Xero
Once your Xero is set up, all products are assigned to one account or cost centre by default.
You can choose to assign a product category from FoodByUs to your own specific account or cost centre in Xero.
Step 1: Open “Integration”
Go to My Account > Integration and click “View Settings” under Xero.
Step 2: Choose a default cost account/cost centre & assign individual categories
If you wish the associate an account/cost centre per product category, select the “Yes” option. Assign accounts/cost centres for each category accordingly. Hit “Save” to update your preferences.